How to Change Titles for Twitch Streams and VODs
Edit them online and offline!

To change the title of your streams, you can do it in 2 ways.
On the first method, you can do it directly from your streaming software. In this example, we will use OBS.
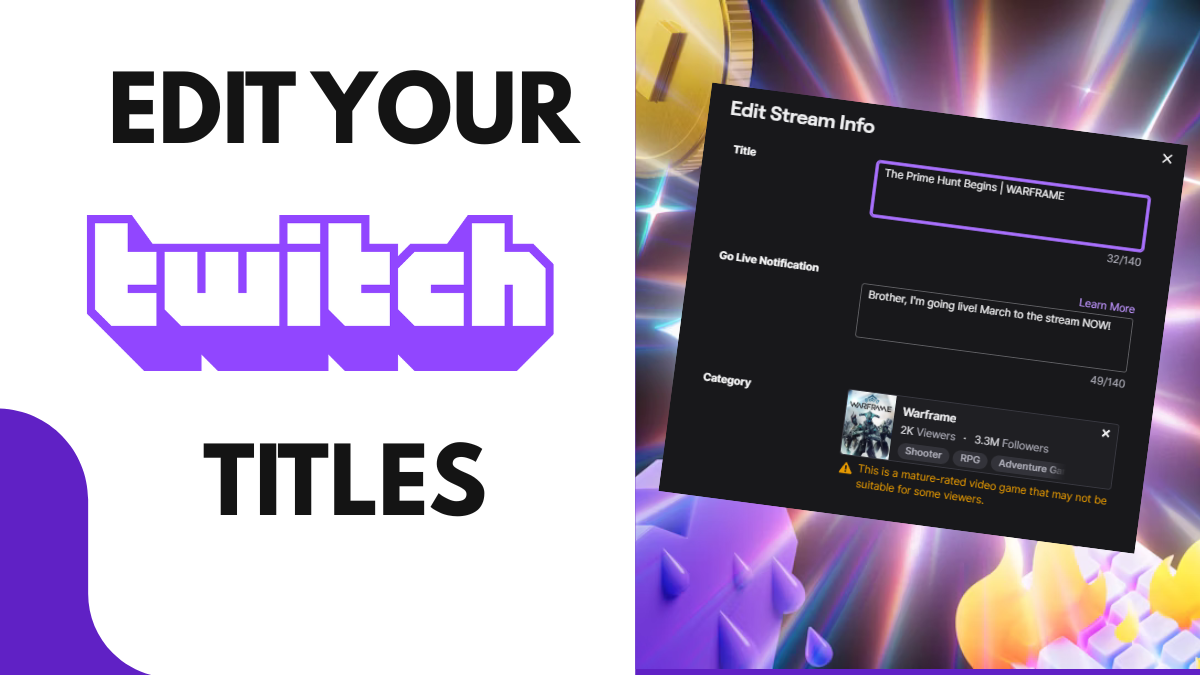
For this to work, you need to connect OBS to your Twitch account. Once done, you will get a Dock where you can enter the data of your current stream. This includes titles, Go-live notifications, tags, language, and categories.
You edit them and press “Done” to save changes.
For the second method, you have to access your Stream Manager in your Twitch account, and in the Quick Actions section, you will see the option to edit your stream information.
If you don’t see the Quick Action section, you can add it to your page by editing your stream manager panels.
You edit them and save changes.
That’s how you can change the titles of your Twitch streams, and you can also do this when you are live.
Once you finish your stream and go offline, you won’t be able to change the title of that stream using these methods. Instead, you’ll have to do it from somewhere else.
From your Creator Dashboard, head to Content, and then Content Producer. There you’ll find all your recent streams.
Find the stream with the title you want to edit and select it. That will open a window where you can edit all its information. You make your changes and press “Save Changes”.
That’s it.